-
The first thing to remember is to take a deep breath and realize that wedding planning isn't as impossible as it might seem. The trick to keeping on track of everything is to create a go-to spot where all your wedding stuff can live – and a wedding binder is the perfect place to do just that.
-
You'll need the following:
A 3-ring binder
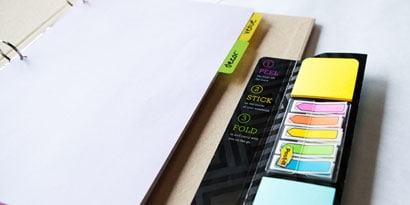
Post-it® Tabs
Post-it® Study Notebook Kit
Lined paper punched with three holes
Colored paper in at least one color, also punched with holes -
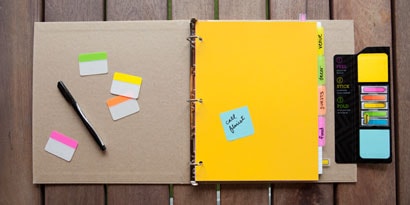
First, stick your Post-it® Study Notebook Kit to the inside cover of your binder. Then, decide on what sections you'll need to set up – a good place to start is with the following:
-
Venue
Wedding Party
Guest List
Wardrobe
Decor
Food and Drink
Entertainment
Budget
Honeymoon -
For each section, grab a stack of lined paper, put a sheet of colored paper on top and snap the whole stack into the binder. Write the name of the section on a Post-it® Tab, and stick it on the colored paper so it's easily visible along the side of the binder. Make sure to stagger the tabs down the colored sheets of paper for subsequent sections, so that they're easily visible.

-
Start each section with a list of what you need to figure out – for the venue, for example, label one page for your budget, one for your location, one for the number of guests, one for transportation, etc.
-
Once you're got each section filled out with the necessary pages, it's time to prioritize. Mark the things that need to be decided the quickest with Post-it® Arrow Flags so you know exactly where to look. When you've got those down, move your flags to the next set of priorities (or just choose a new color and add more flags) – and so on until you've covered all your bases.

-
Good luck – and remember, no matter what happens, you'll have a wonderful time.

